Updates the user-facing docs to match the install flow after the
friction fixes landed:

README.md
  Quick Start block now reflects reality: install.sh host-port
  check, test-deployment.sh verify step, password file location,
  and the useful-tools block (validate-env, test-deployment,
  pangolin-teardown, ccp-deregister).

mkdocs prerequisites.md
  New warning block under Linux Server covering the cockpit-on-9090
  class of port collisions, pointing at the installer's ss-based
  preflight and validate-env.sh for manual checks. Checklist gains
  a host-port line.

mkdocs installation.md
  "What install.sh does" now enumerates the new port check and disk
  check. Configuration Wizard Step 4 notes the
  data/admin-credentials.txt persistence for auto-generated
  passwords. "Verifying Installation" rewritten around
  test-deployment.sh. New "Clean reset before reinstall" block with
  the teardown sequence.

mkdocs first-steps.md
  Log In step tells users where to find the generated password when
  they ran config.sh -y without --admin-password.

mkdocs control-panel.md
  New "Registering an Existing Install (Phone-Home)" section
  covering invite code, --ccp-* flags, approval, rate-limit + backoff
  behaviour, and the ccp-deregister.sh teardown path with the
  slug-conflict rationale.

Bunker Admin
3.7 KiB
title, description, icon, tags, search
| title | description | icon | tags | search | |||||
|---|---|---|---|---|---|---|---|---|---|
| First Steps | Log in, explore the dashboard, and set up your first campaign and volunteer shift. | material/shoe-print |
|
|
First Steps
!!! tip "Need help getting set up?"
Bunker Operations provides managed infrastructure and hands-on setup assistance for organizations running Changemaker Lite. We handle domains, tunnels, SMTP, and servers so you can focus on your campaign. Get in touch: bnkops.com | admin@bnkops.ca
You've installed Changemaker Lite — here's what to do next.
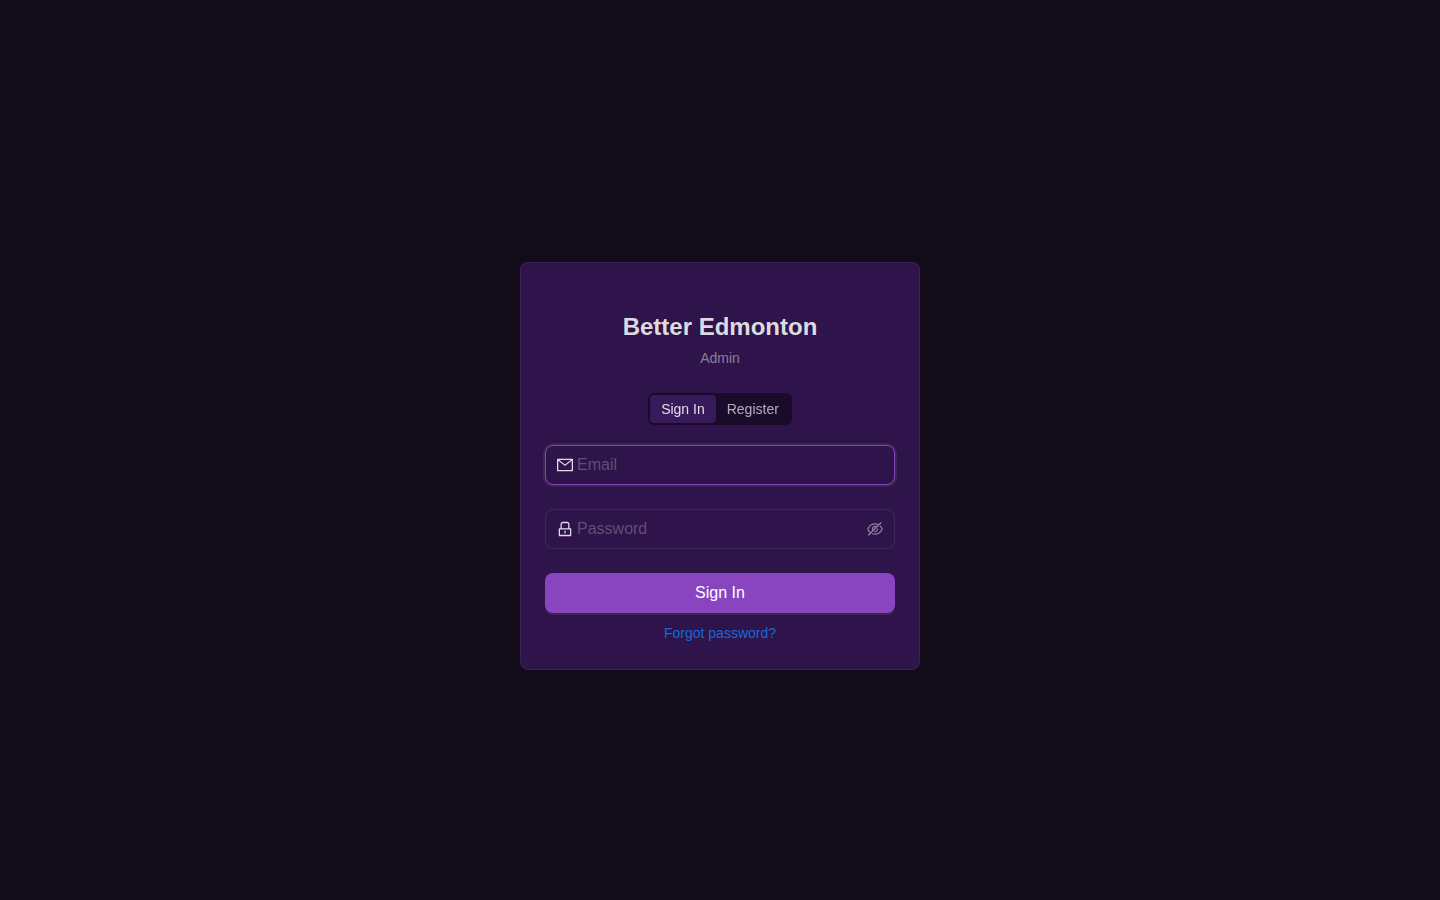
1. Log In
Open the admin panel at http://localhost:3000 (or app.DOMAIN in production) and sign in with the admin email and password you configured during setup.
 { loading=lazy }
!!! info "Where's the password if I let the wizard generate one?"
If you ran config.sh -y without --admin-password, the generated password was printed once to stdout and saved to data/admin-credentials.txt (mode 0600). Retrieve it with:
```bash
cat ~/changemaker.lite/data/admin-credentials.txt
```

Delete the file once you've saved the password elsewhere (e.g. in Vaultwarden).
!!! warning "Change your password" Whatever password you're logging in with first, change it immediately from Settings > Organization.
2. Explore the Dashboard
The dashboard gives you an at-a-glance view of platform activity. Initially it will be empty — that's normal.
 { loading=lazy }
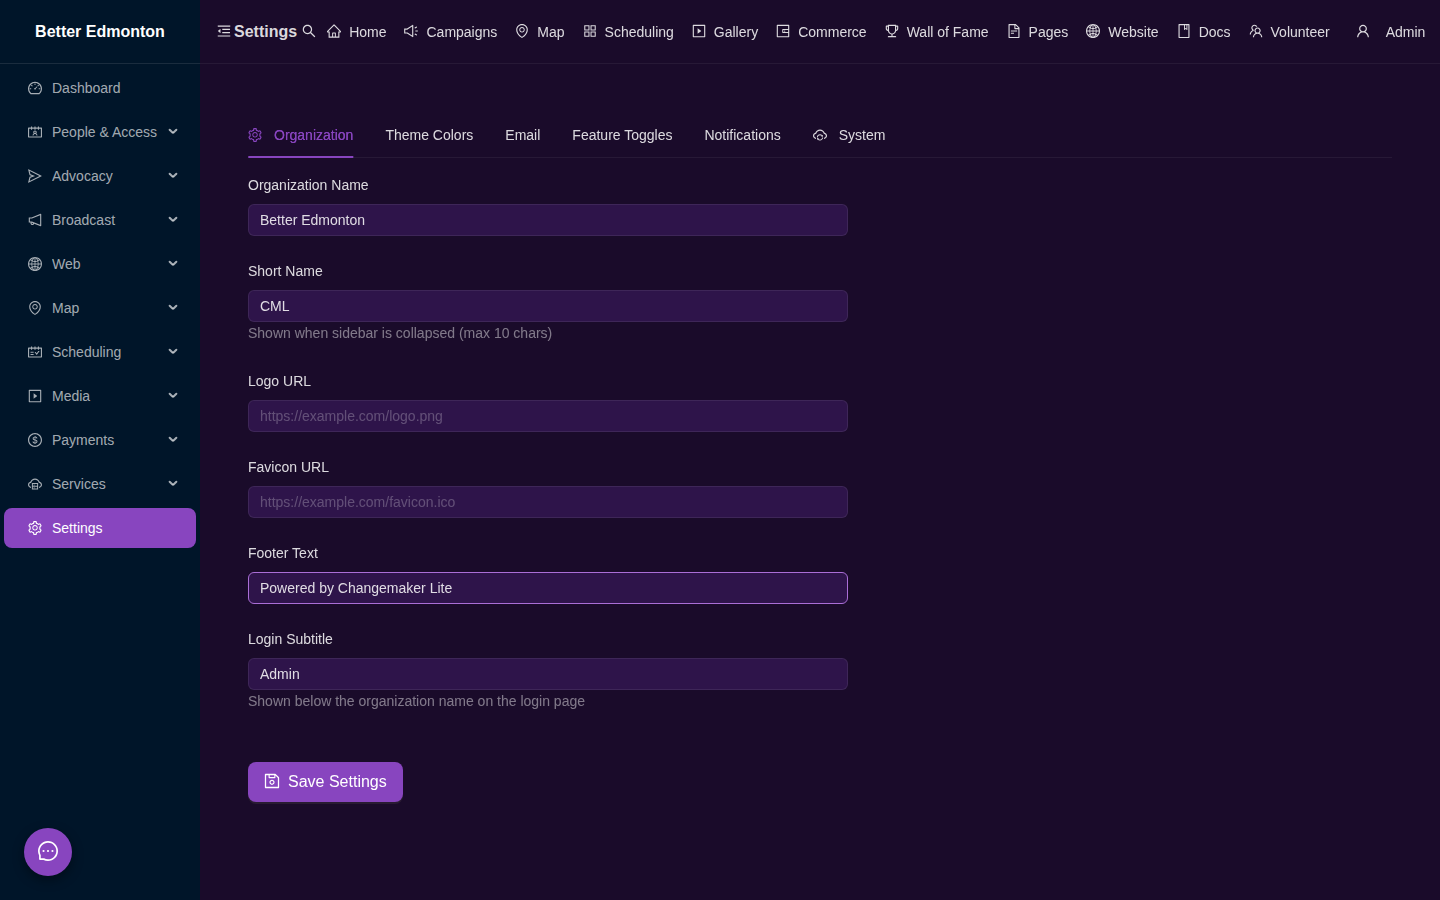
3. Configure Settings
Visit Settings (/app/settings) to:
- Set your organization name, logo, and tagline
- Choose theme colors for admin and public interfaces
- Enable feature modules (campaigns, map, media, payments, etc.)
- Configure email delivery (MailHog for testing, production SMTP for live use)
- Check the System tab to verify your installation and check for updates
 { loading=lazy }
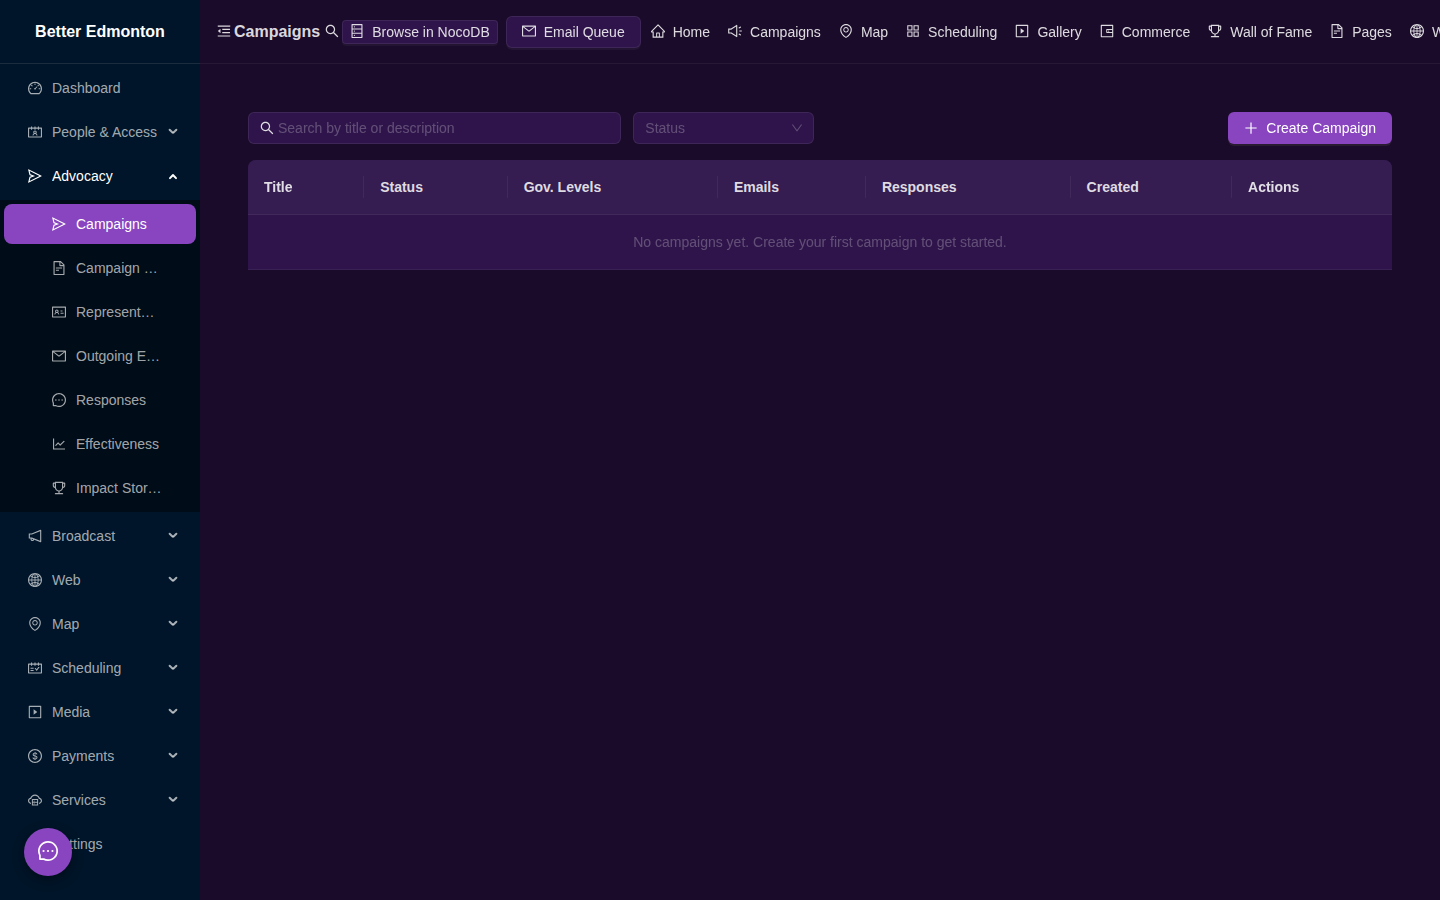
4. Create Your First Campaign
Go to Campaigns (/app/campaigns) and click Create Campaign:
- Write a title and description
- Compose the email template supporters will send
- Select government levels to target
- Publish — the campaign appears at
/campaigns
 { loading=lazy }
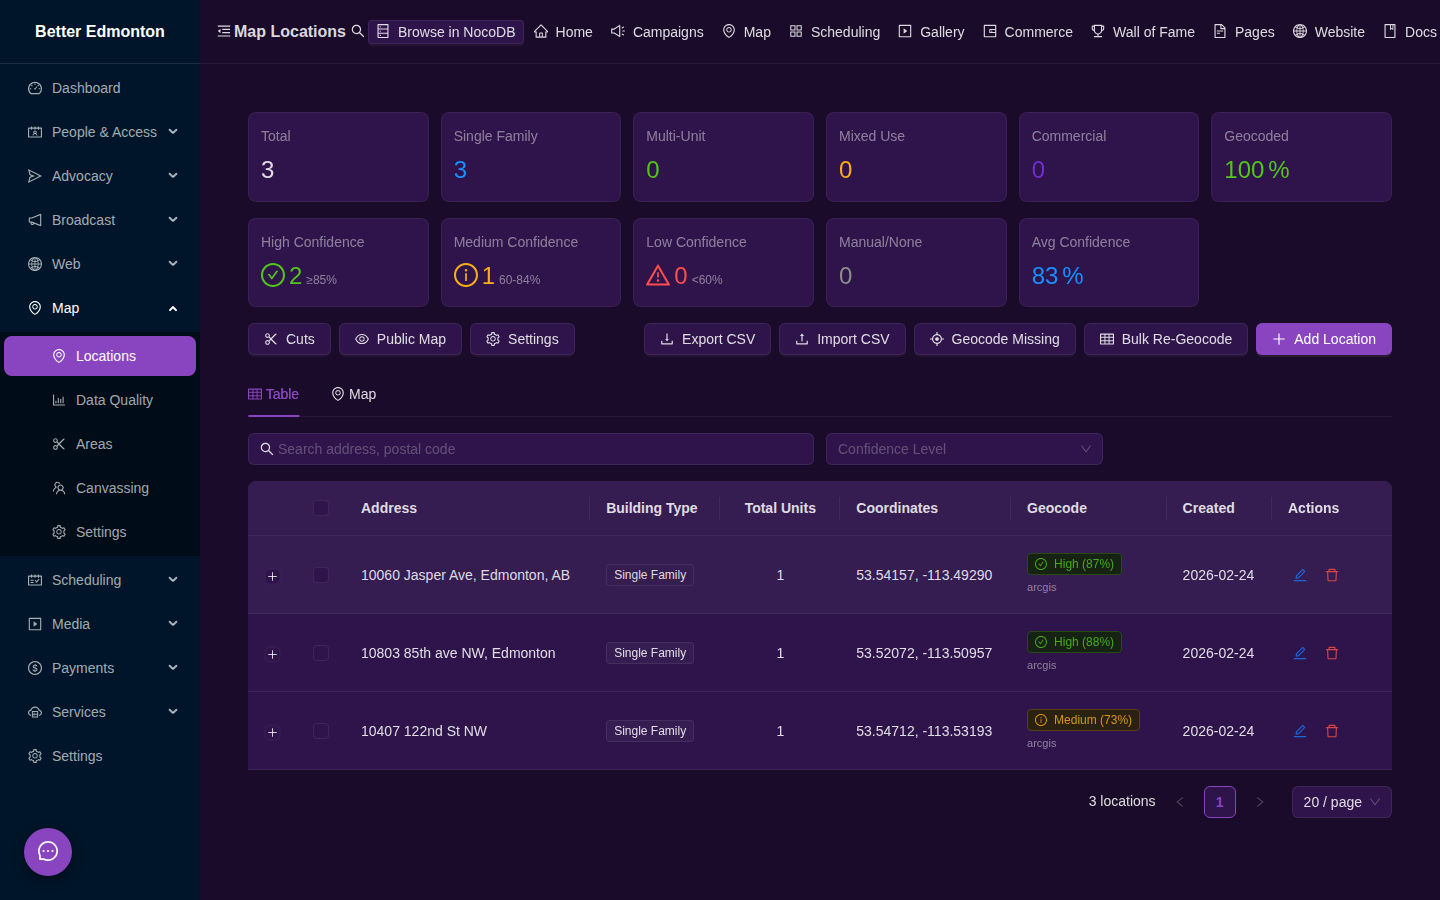
5. Add Locations
Go to Locations (/app/map) and add addresses:
- Click on the map to drop a marker
- Import a CSV of addresses
- Use the NAR (National Address Register) import for Canadian data
 { loading=lazy }
6. Schedule a Shift
Go to Shifts (/app/map/shifts) and create your first volunteer shift:
- Set a date, time, and location description
- Optionally link it to a canvassing area
- Share the public shifts page (
/shifts) with volunteers
 { loading=lazy }
7. Invite Volunteers
Share the shifts page link or generate QR codes for in-person events. Volunteers sign up with just an email address.
Next Steps
- Services Overview — complete catalog of all 30+ Docker services
- Updates & Upgrades — keep your installation current
- Features at a Glance — visual overview of every module
- Admin Guide — full administration reference
- Deployment — production setup with tunneling and SSL